Global Bilgi RPA (EN)

Try Free

Welcome to Experience RPA.

You can use RPA unlimited for 30 days by installing Orchestrator, Studio and Robot modules by following the steps below. You can access training documents in our RPA Academy section. We wish you a pleasant experience.

RPA Installation Steps

1. Orchestrator Installation

You can switch to the Orchestrator, that is, the administration panel, via the button below. You can then log in with your Organization Name, Username and Password. If you do not have this information, you can register by clicking the “Create New Organization” button.

After entering the organization name, e-mail address, password and password again on the page that opens, the registration process will be completed by entering the security code. For security reasons, the password you use must consist of at least one uppercase, one lowercase and one special character.

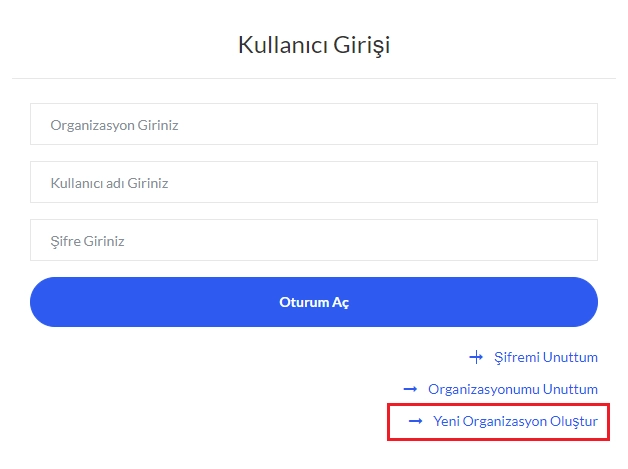
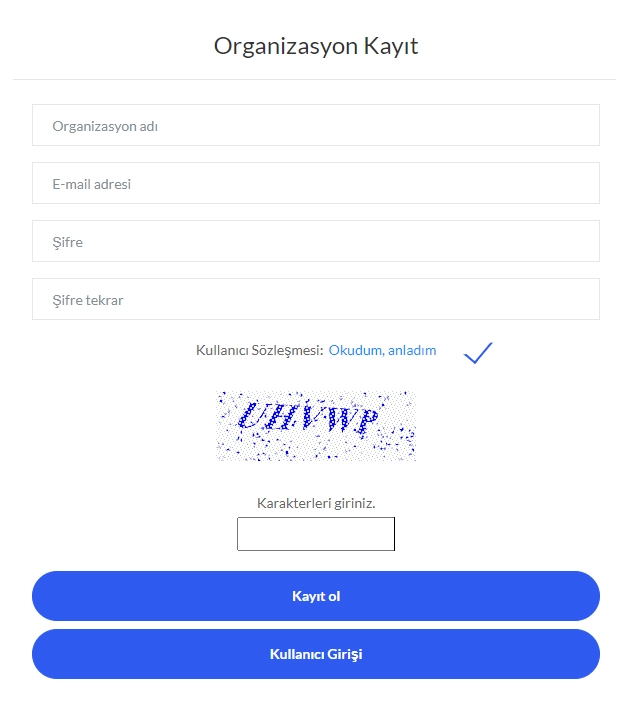
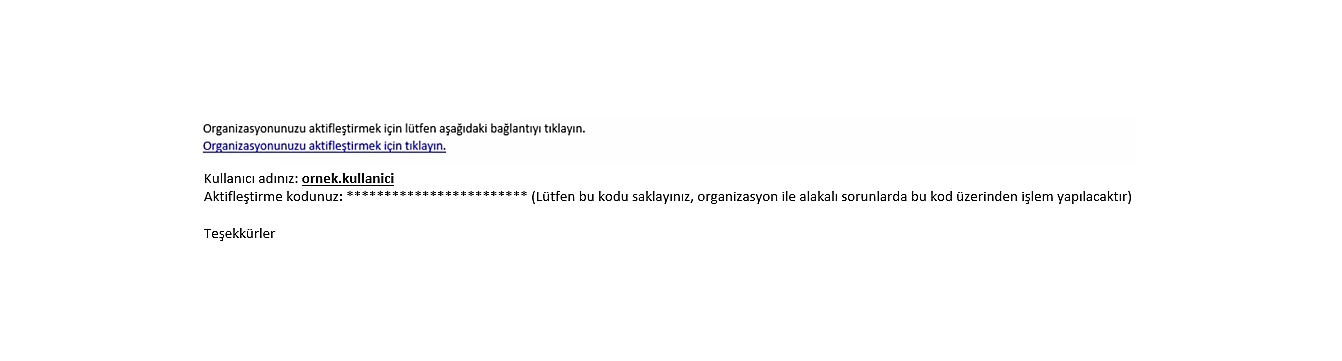
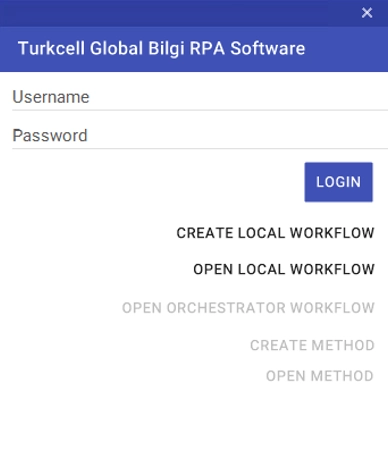
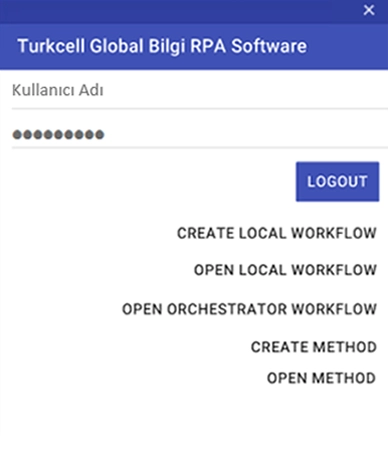
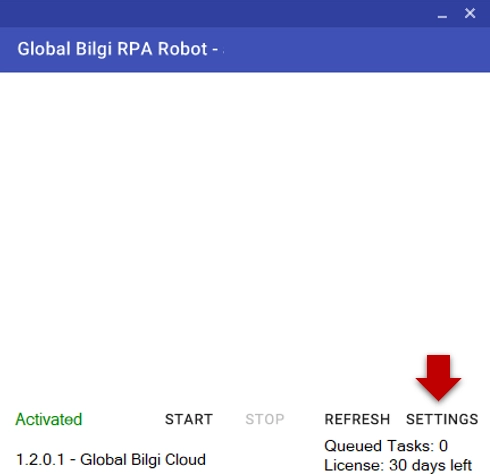
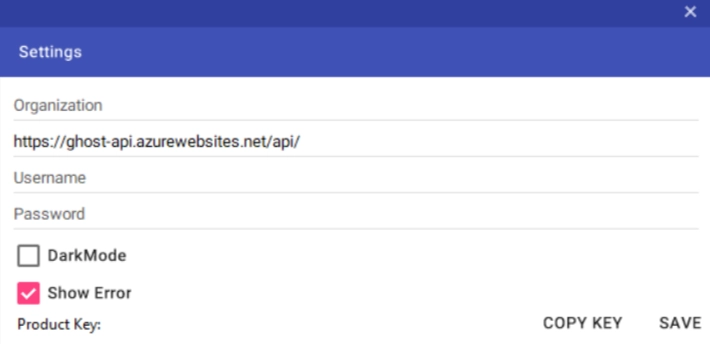
You can activate your account with the “Organization Activation” e-mail sent to your e-mail address after the registration process, and you can log in to the orchestrator, that is, the administration panel, by typing your organization name, user name and password on the user login screen, along with the verification code sent to your e-mail.

Note: The prefix of your e-mail address you use for registration is defined as your username. If you want to change your username, you can perform operations by logging into the Users + Operations + Edit page from the orchestrator administration panel.

2. Studio Installation

Once the user registration process is completed, you can install Studio with the installation file you downloaded by clicking the button below.
Once the installation is completed, a new design page should be opened with “Create Local Workflow”. On the page that opens, the settings area is entered. The organization name, user name and password must be entered and the save process must be done.
After closing and opening the application once, you can login to the studio environment using your username and password. When you log in, Open Orchestrator Workflow, Create Method and Open Method buttons will become active.

3. Robot Installation

You can install the Robot with the installation file you downloaded by clicking the button below.
When you log in to the settings area, the organization name, user name and password must be entered and the save process must be done.
You can activate the robot in the passive position by logging into the Robots + Operations + Edit page from the orchestrator, that is, the administration panel, right after the save process, and you can start using the application after closing and opening it once.

4. If an Error is received After Installation

If an error is received in the application after installation, the following links should be added to the proxy.

Do you want to have Digital Employees?